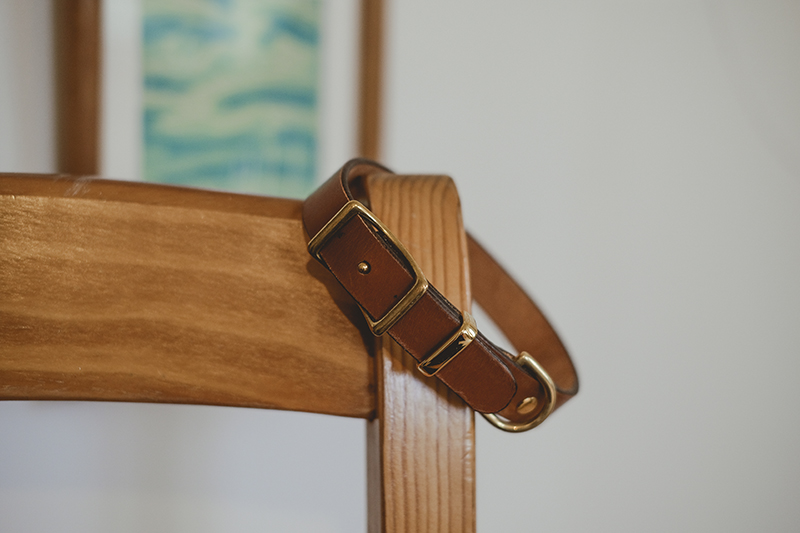
DIY leather collar


Making a leather dog collar has been on my list for a long time, and now I finally did.
The hardest part is without any doubt deciding on the technique/style. With our without stitches, one layer or multiple, buckles, hardware, with or without padding,… so many choices! Since my wrist is still recovering but the need to create is high, I decided on a very minimalistic approach and hardware.
For a collar like this you need:
– Decent quality leather. To save some money, craft websites or tanneries often offer cheaper leftovers that are perfect for smaller projects. The pieces might have some marks or blemishes, but I have had some great pieces so far.
– Hardware: belt buckle, D ring, rivets.
Note: I wouldn’t recommend a buckle like this for heavy use/pullers, or when you have to remove the collar often. I chose it purely for the look.
– Hole puncher.
– Optional: wooden edge burnisher, edge beveler, Tokonole. These are all tools and products to finish the edges. You can also opt to leave the edges raw, or finish them with leather paint or wax.


